Get Your Home Ready For Entertaining
15
Nov
Turn your home into a holiday home with these DIY Tips
- Table décor ideas with tiles
- Décor tiles – the ultimate DIY hack
- Top tips for a tiled feature wall
- How to clean your showerhead in 5 easy steps
Table décor ideas with tiles
You don’t need to spend a lot of money to create fantastic festive décor for your home. Think outside of the box and with a little bit of help from Tile Africa you can add your unique style to your table décor, all year round.
Tiles can make a wonderful addition to your traditional table setting. Use tiles either as underplates – think wood-look planks, glossy marble or rustic stone-look - or use them as trivets for placing those piping hot dishes on, keeping your table or counter top protected. Attach furniture felt pads to the bottom of the tile, to make it easier to pick up and move them, this also helps prevent scratching your furniture.
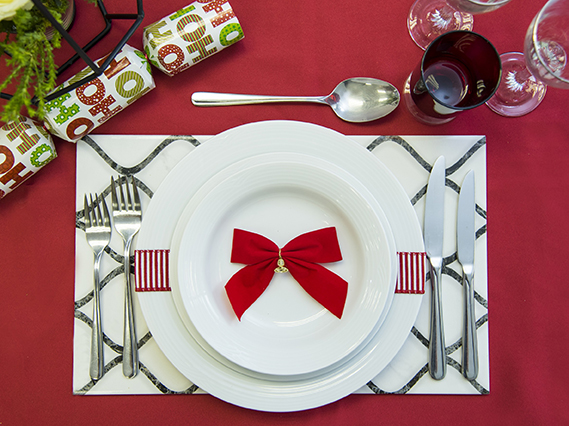
Festive styling
Most people think of red and green for Christmas décor, but classic white with black accents can give a whole new dimension to your table decor. Pair a boldly patterned tile with white plates, gleaming cutlery and shimmering glassware. Add touches of festive cheer through the table linens, ribbons and coloured glassware to bring a touch of the season’s traditional colours to the look.
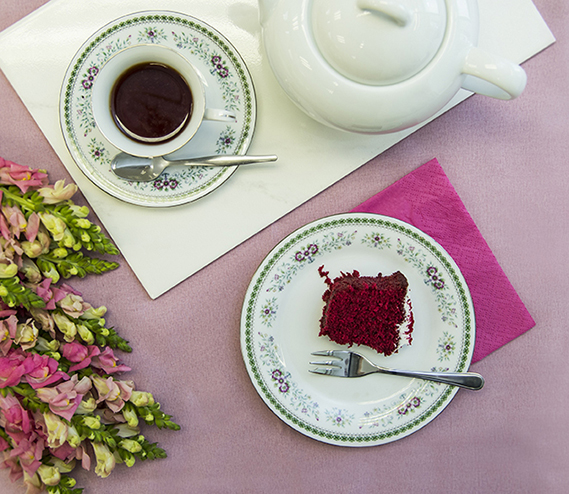
Spring Tea
Nothing says sophistication quite like a well-presented high tea. Mix classically patterned china with plain linens, fresh spring flowers and an elegant white marble-look tile as the perfect complement for your teapot. Choose a colour out of the chinaware pattern and use this for your accent pieces, bringing interest and a dash of delicate colour to the setting. Gleaming cutlery picks up the silver trim of the china for a hint of that all important, yet restrained, bling.
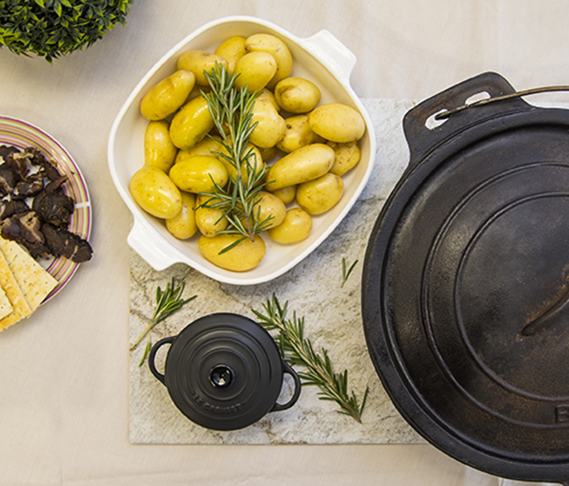
Summer Braai
Celebrate the great outdoors at your next braai by pairing brightly coloured plates and serviettes with a stone-look tile trivet. The natural colours of summer flowers and warm stone combine to offset the more sombre colours of your cast-iron cookware. Keep floral arrangements to a minimum and let your garden and cheerful crockery bring summer fun to your table.
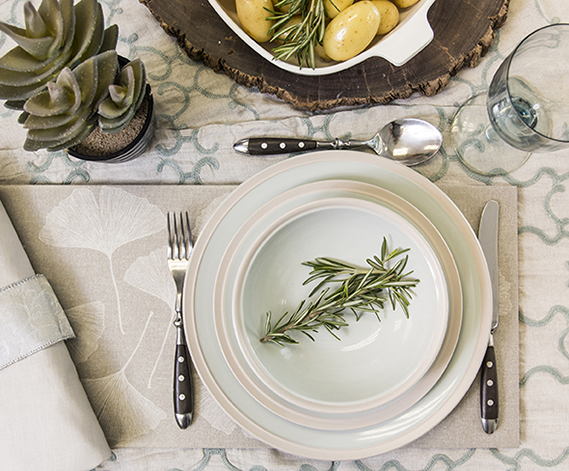
Autumn Feast
For casual dining with a twist, use a textured or delicately patterned tile with plain crockery, to bring interest to the setting. A chunky block of wood as a trivet, plays off the texture of the tile and adds country-kitchen appeal to this look. Keep the table linens and floral elements toned down for a warm, cosy feel that’s perfect for welcoming guests to a hearty family dinner.
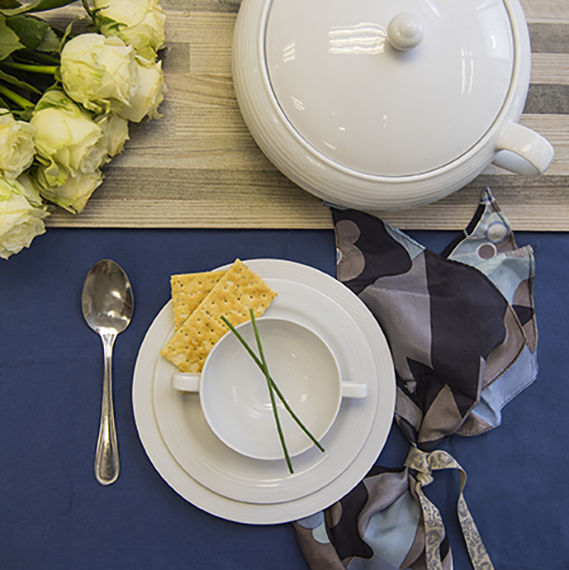
Winter Warmer
There’s something very satisfying about a piping hot tureen of tasty soup on a cold night. Pair the cooler shades of blue and white with the warmth of a wood-look tile for a wonderful contrast. Keep the setting clean with white roses and napkins in subtle shades of grey and blue, blending the natural wood tones with the blue tablecloth.
Décor tiles – the ultimate DIY hack
So, a few tiles have cracked or lifted off your walls or floors, they’re been there since you moved in,you don’t have stock of them and of course, it is unlikely that you will find the same tile again. Disaster? Not really, we’ve got the perfect solution for you. Décor tiles and spotters are the ultimate DIY hack to fill the gaps without re-tiling the whole space.
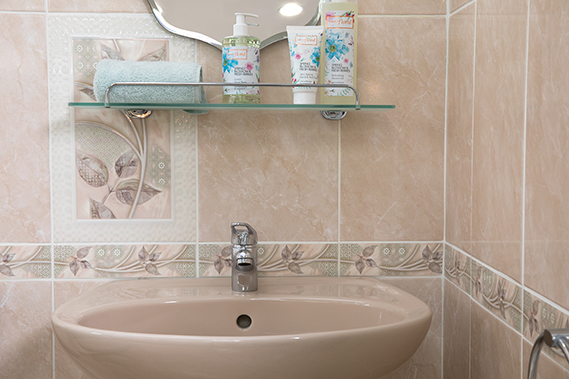
Wall tiles
Décor tiles, spotters and listellos not only make a great feature on your tiled walls, breaking the monotony of the field tile, but they can also be used as replacements for those ugly cracked or missing tiles. If possible, take a piece of the broken tile, or a photo of your existing tiles with you to the store, so that you can compare against the available options.
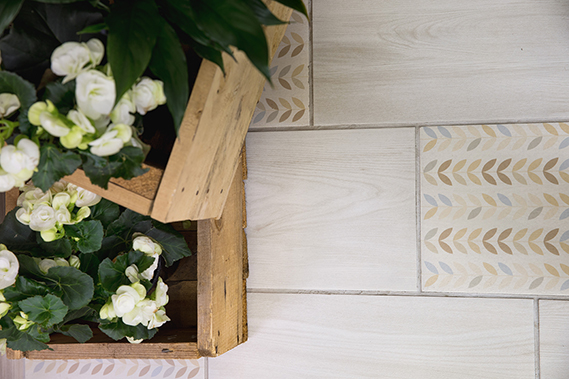
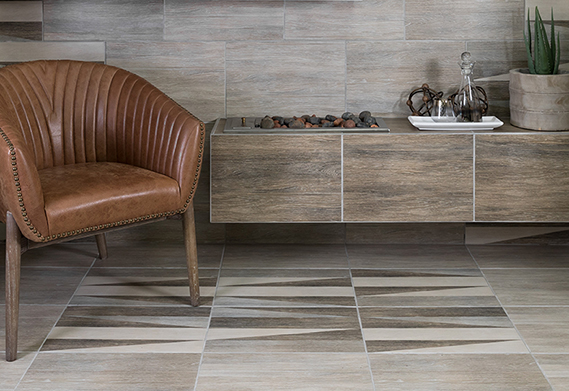
Floor tiles
You can also use a décor tile to hide those glaring gaps in your flooring but remember that wall tiles can’t be used on the floor! Be sure to check with your Design Advisor in-store what décor tiles can be used on the floor.
Design tips
You can choose a décor tile or spotter with a similar colour to your existing tiles to blend in with them, or alternatively choose a contrasting tile and make a bold statement with your replacement tiles.
If it’s a fairly large area, why not remove a few tiles around the cracked or missing ones to create a symmetrical space. Using four or more décor tiles placed together can create a picture effect on walls, or a rug detail on the floor.
Be bold with your repairs so that it looks purposeful, planned and a stylish part of your décor.
Top tip! Be sure to ask your Design Advisor in store for advice on smaller DIY-sized packs of the tile adhesive for replacing small areas of tiles.
Top tips for a tiled feature wall
A tiled feature wall has many benefits, it’s easy to clean, more durable than paint or wallpaper and you can mix and match to create the perfect look that you want for your home.
Here are some top tips on how to make a tiled feature wall work for you.
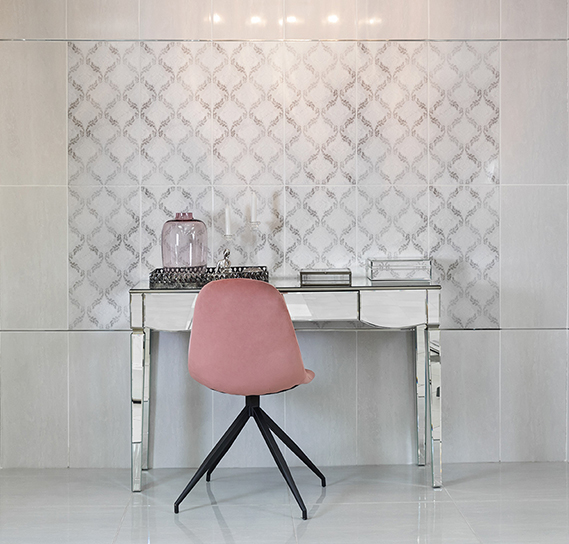
Wallpaper effect
Tile a full wall of your chosen décor tile to create a wallpaper effect for your feature wall. Choose bold patterns and colours for maximum effect like this black and white geometric pattern.
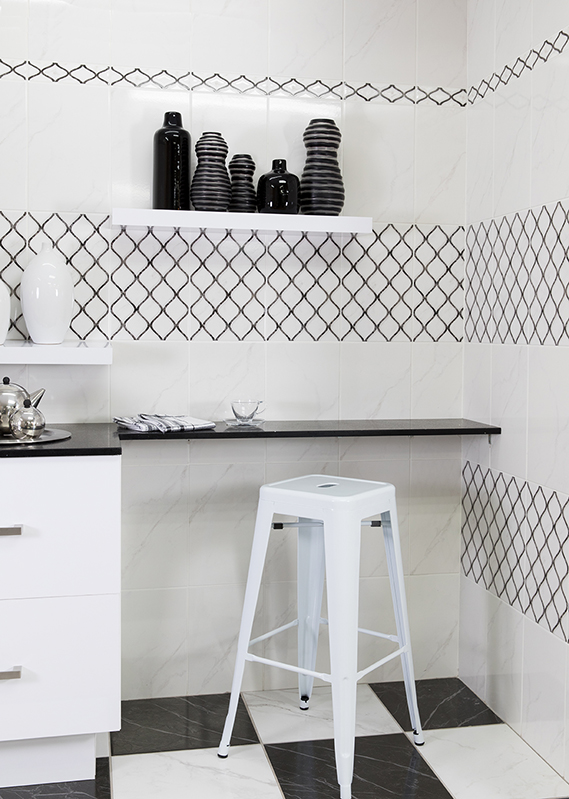
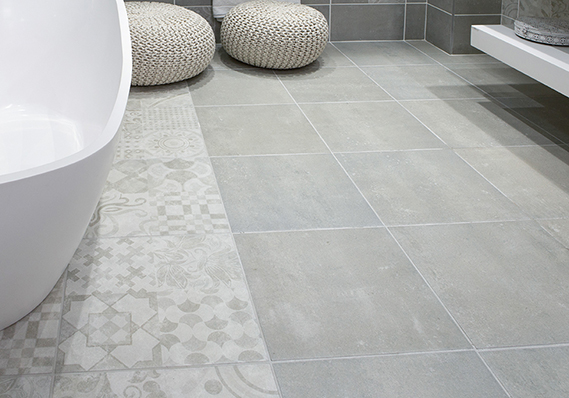
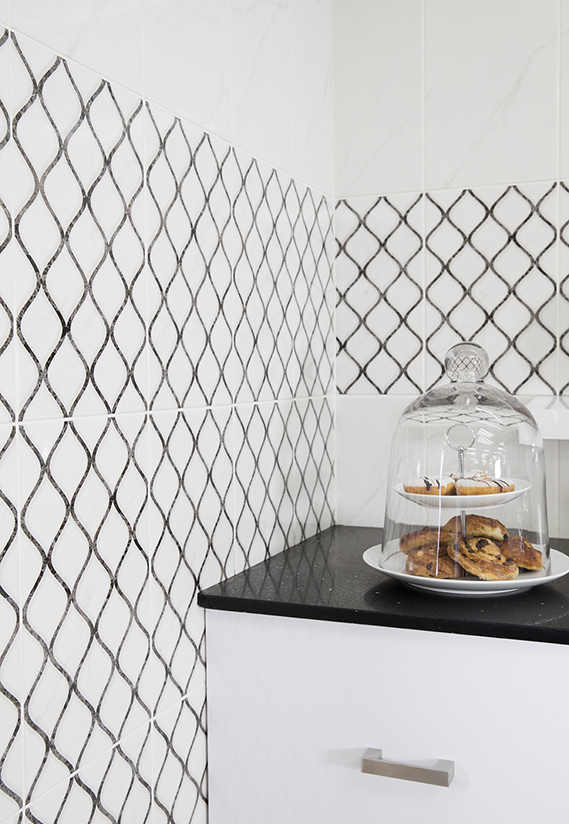
Defined space
Alternate a patterned décor tile with plain field tiles to create a sense of definition. This is great for when you want to draw the eye all the way to the roof, creating height.
Add depth
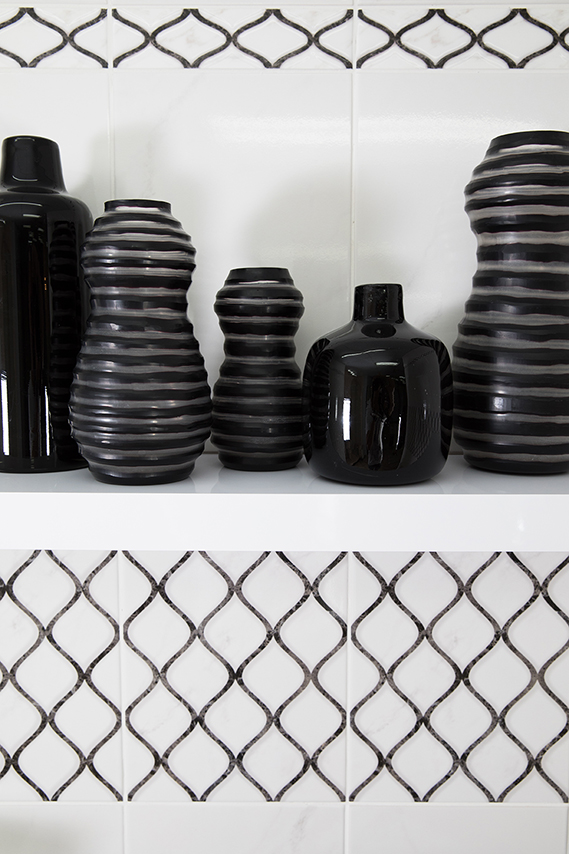
Use both décor tiles and listellos to accentuate other elements on your feature wall such as floating shelves, or a window. The repetition of pattern is a perfect way to add depth and interest to the room.
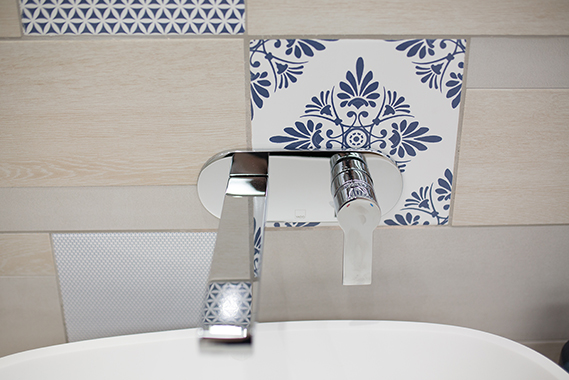
How to clean your showerhead in 5 easy steps
Your showerhead nozzles will at one point or another clog up and direct the water all the wrong directions. This is due to calcium and iron in the water, which leaves deposits and debris in your shower nozzles. We’ve got you covered with 5 easy steps to cleaning that limescale and dirt away, to keep the water flowing.
- Using a sponge with a scourer pad, wipe as much of the dry debris off from the holes as you can.
- If that doesn’t do the trick, combine half a cup of white vinegar and half a cup of water in a plastic bag. Put the plastic bag around the showerhead so that the holes are covered by the liquid, top up if you need to. Use a cable or twist tie to secure the bag to the shower arm.
- Leave the shower head to soak for at least 15 to 20 minutes, longer for stubborn dirt.
- Carefully take the bag off the shower head and throw out the liquid. Using your trusty sponge scourer, wipe away the loosened limescale and debris.
- To avoid smelling like a slap chip, run the water on hot to flush the vinegar mix out of the shower head.
And that’s it, easy as that. Now all that’s left is to enjoy your next shower.
If these 5 easy steps haven’t helped the problem, it may be time to get a shower head. The newer designs are generally water saving and some are self-cleaning, so be sure to ask your friendly Design Advisor which one is best suited to your needs.